This article describes how to use video to create an interactive media quiz as a useful pedagogical tool. Kaltura enables you to embed questions easily within your media, which allows you to assess students’ engagement and understanding of the media.
Create a Kaltura Video Quiz from My Media
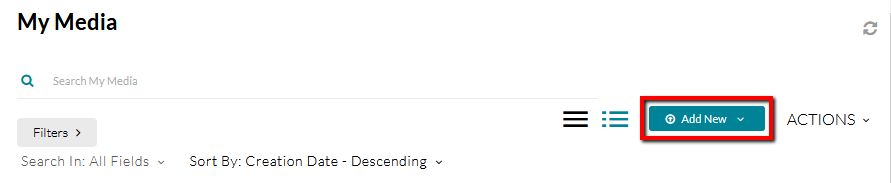
- Navigate to My Media.
- Select the Add New button:
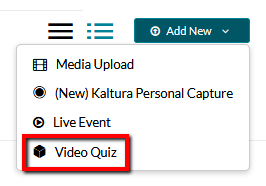
- Select Video Quiz from the menu that appears.
- From here, you can either use a new video or one already present in your Gallery. To upload a new one, click the + Upload Media button in the top right.

- To use an existing video, scroll down through the menu and click the Select > button next to the one you want to use for the quiz.

This will open up a window where you can begin creating the video quiz.
Note: It may take a few minutes to load, depending on the length of your video.
- This editor will allow you to insert questions into the video at particular intervals using the highlighted timeline tool, as well as edit the description and grading information for the quiz.
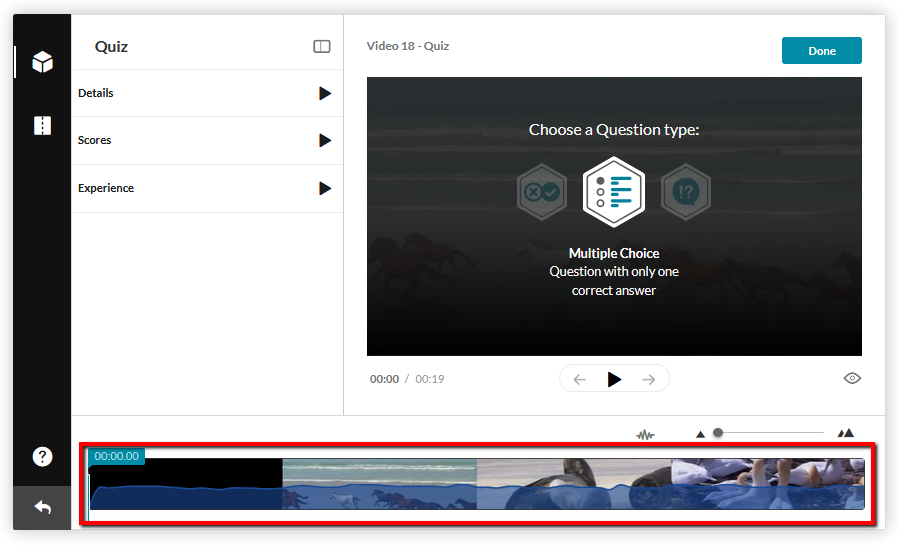
- To insert a question into the quiz, either play the video normally and pause where you would like to place it, or grab the highlighted time tag and drag it to the appropriate place in the video.

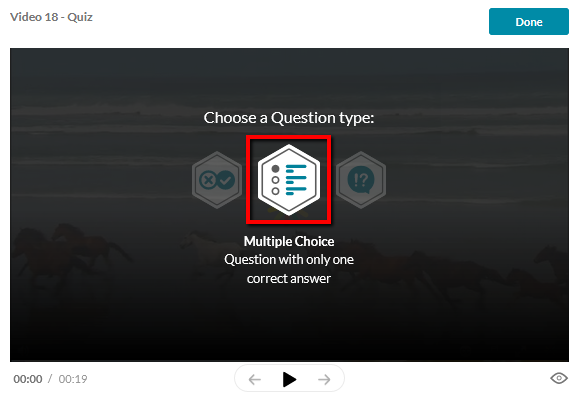
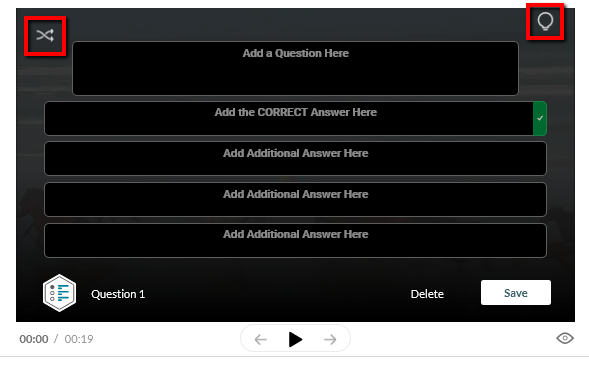
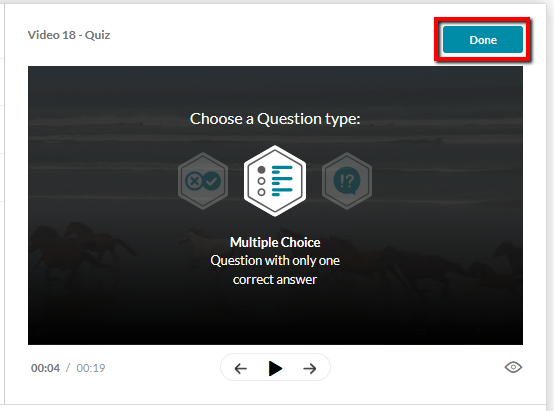
- From here, choose which question type you would like to insert into the video.
- This will take you to a menu where you edit the question and the available answers for it. The specific options will vary depending on the question type. Clicking the highlighted shuffle icon on the left side of the screen will shuffle the available answers while clicking the highlighted light bulb icon will allow you to add text hints to the question as well as explanations.
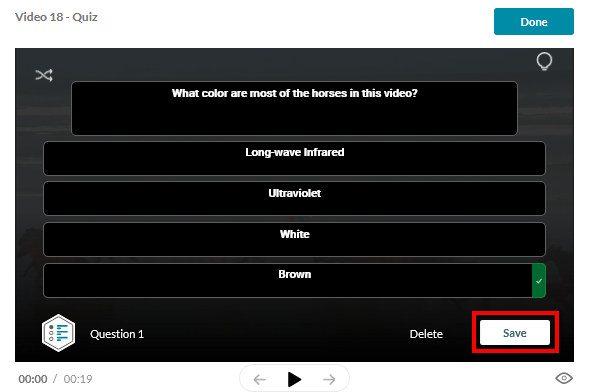
- Click Save when you are satisfied with the structure of the question. It may take a moment to do so.
- Once the question is saved, a cube icon will appear on the timeline indicating that a question has been created there. You can click this icon to edit that question.

- It is also possible to edit the video quiz's general settings from this menu. To toggle the settings menu, click the panel icon.
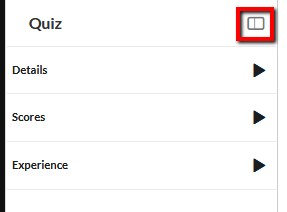
- There are three primary areas: Details, Scores, and Experience.
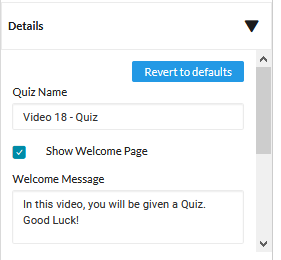
- Details allow you to edit the name and description of the quiz, add a welcome message, and allow students to download a list of the questions and possible answers at the start of the video.
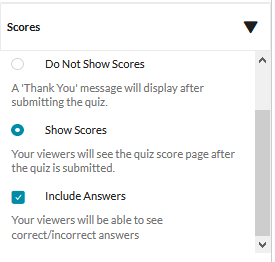
- Scores determine whether students will be allowed multiple attempts and whether they will be able to see their scores and the correct answers after completing the quiz. If you choose to allow multiple attempts, you can retain the highest score, lowest score, most recent score, first score, or average score of all the attempts.
Best practice: we recommend allowing at least 2 attempts, and retaining the highest score earned.
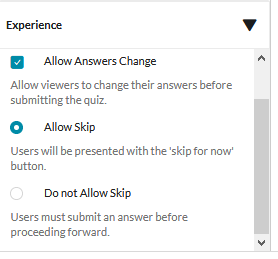
- Experience allows you to edit other settings, such as allowing users to change their answers or skip individual questions.
-
When you are satisfied with the quiz questions and settings, you can go to the upper right of the screen and click Done.
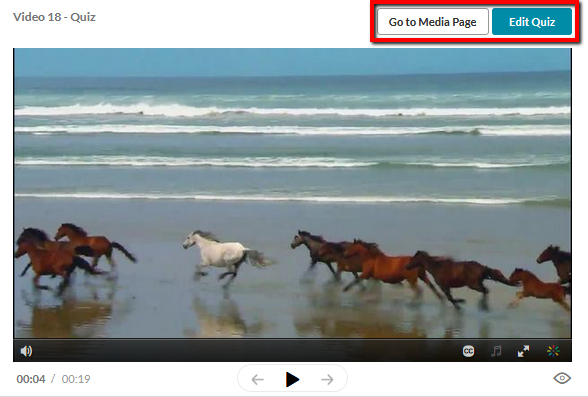
Your video quiz has been created and saved!
Click the Go to Media Page to return to My Media, or click Edit Quiz to make additional changes.
From here, we'll need to link your quiz with a Canvas assignment in order for student grades to be pushed into the Grade book.